Iron Bridge Socks

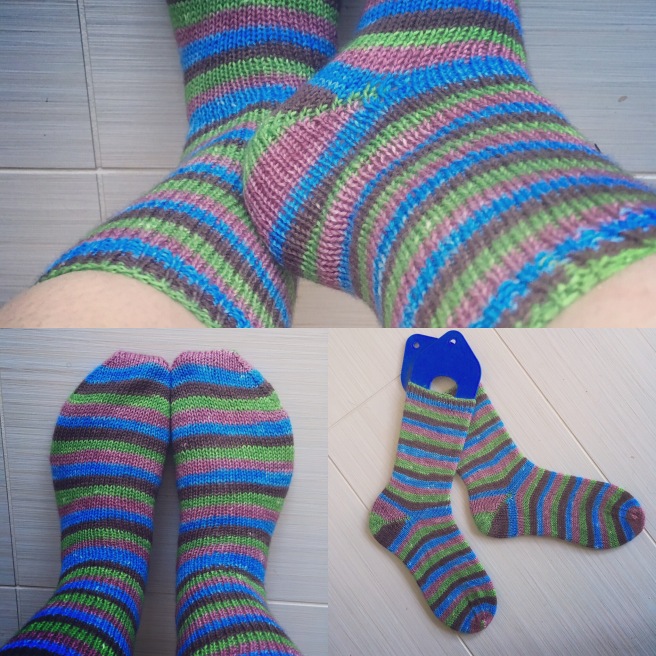
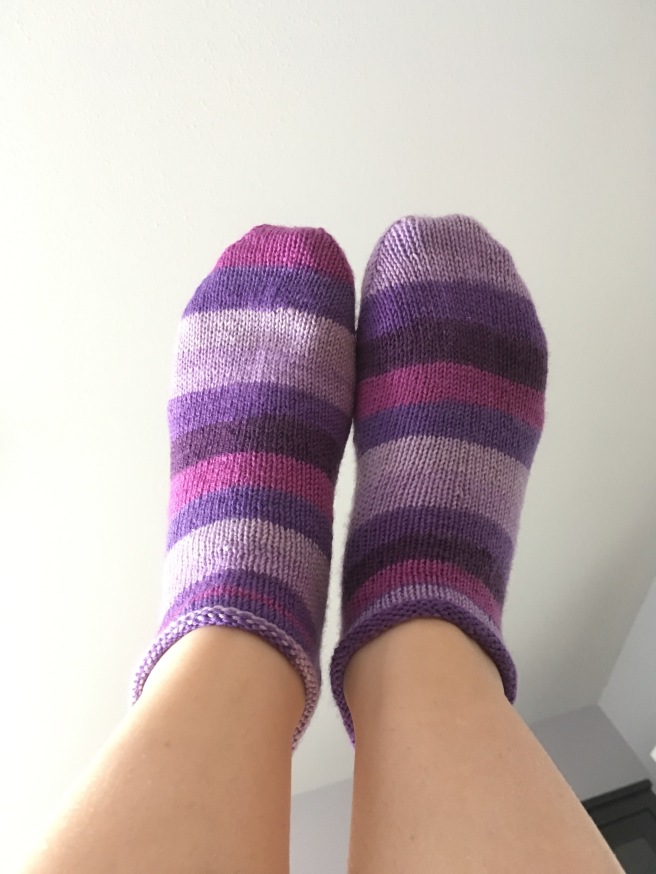
I am on a huge sock kick, as of late, and here is my latest addition. I found this beautiful pattern Iron Bridge on sale earlier this year and thought it would be a good use of some stashed Sweet Georgia Yarn in Amethyst. It’s my first time using their sock yarn and all I can say it is fantastic to work with. I think it will hold up well, too, which is great since I plan on wearing these socks a lot.

The only comment I would add about the pattern is that the heel is quite large, so keep an eye on it and end it early if you need to.


Ravellenics Roundup

I made a last minute decision to join the 2016 Ravellenics challenge for Team Canada. I’m so glad I did, because I got so much knitting done!

IMG_1385.JPG

The obvious choice was the WIP Wrestling category. I had been working on the Cold Mountain shawl for over a month and it was becoming a struggle to pick up.  I finished it with two days to spare. This also used up two skeins of lace yarn for Cold Sheep. Win win. I am so in love with this shawl and it has been great in the late summer evenings.

IMG_1389
This expressions is reflecting how I felt about the horrible Friday afternoon traffic leaving the city, not the shawl.

I decided to take my new 9″ needles for a spin with some pretty self striping yarn and cast on some plain socks so I had a dark knitting project on hand for the Sock Put category. I’ve never finished a pair of socks so quickly. Three days for each sock (when I say day, it was at most a couple of hours each evening).

IMG_1357.JPG

My last minute entry was in Mitten Medley. My little nephew sent me the sweetest video requesting a pair of mittens from his favorite story about a knitting penguin. How could I say no? I couldn’t find a pattern, so I improved. I hope they fit and stay on his little hands!

IMG_1417


Itty Bitty Needles

I can’t believe how much I love these little 9″ needles. I was able to knit an entire leg of a sock after dinner and I’m almost done the first sock at the end of day two. At this rate, I’ll actually finish these socks for the Ravellenics challenge this year. Amazing!

File 2016-08-10, 12 13 36 PM.jpeg

I went through my favourite past projects and saw that I seem to prefer 2.5 mm needles for most of my socks. I chose the sharp points, because I know from experience that I really like the precision you can get with these tips. Careful, though, they’re sharp!

And the best part? I haven’t dropped a single DPN, pulled out half of a magic loop or caused any ladders! Worth it.

I guess I should note I am not affiliated with Hiya Hiya in anyway. I just really love these needles.

A beast of a quilt

It’s done. It’s taken 13 months, 1054 squares (plus extras that I cut then discarded), over 1000 yards of thread and one minor injury. Plus $201 to finish what I couldn’t. But, it’s done and I love it.

I typically prefer more traditional designs and don’t go for minimalist work (which you can tell by my choice in fabric). Our bedroom has modern (cough…ikea) furniture, art and feel to it, so I thought I would branch out and try a modern pattern. I searched high and low for fabric (everywhere from the Rocky Mountains to Japan) and finally found a good palette that would give the ombre look that I love. James and I found more than half of this fabric on our travels together last year, which makes this all the more special.


I made a long list of the number of squares I need from each fabric (in both 3 1/2″ and 3 7/8″) and got to work cutting. My scrap box filled and my interest waned, but I managed to start piecing late last fall. And then I pieced and pieced and pieced. I’m not very experienced on a sewing machine, so it went slowly, but I got there in the end.

I was ready to quilt and planned on doing a simple shadow stitch on my little Riccar sewing machine. I got through 3/4 of a line and I realized it was a lost cause. I couldn’t hold it straight enough or feed it evenly because it was too big. I tried large text books, walking foot with a quilting bar, giant table, but no dice. And then as I approached the end an old injury from playing the tuba started to come back with vengence.

So, I did what any frustrated crafter should do and banished the quilt to the naughty corner and made it think about what it did while I started to look into alternatives. I found a lovely lady who lives about 2 blocks down who has a free arm machine and was able to quilt it with a beautiful vine pattern and bind it, all for $200 dollars, and had it back to me within 4 days! As much as it pained me to have someone else do it, I was really happy with the results.

Since this was really for James and I to hopefully share for many years together, I threw together a little label using my rusty embroidery skills.

Here it is, in all of it’s glory.

If you’re interested in a good tutorial that gave me the idea of shape of the pattern for this quilt, check out this blog here.

Bath Time

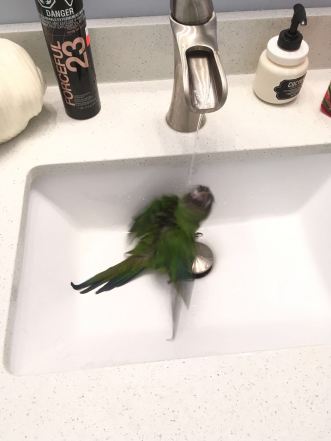
You may not know this about parrots, but they really like to bathe. Every once in a while, Helios will turn into a divining rod and guide us through the house to a sink, where he will splash around like a maniac.

ParrotBathTime
The green blur at bath time

Tasha, though, prefers to bathe in a little bathtub in her cage. She loves bathing, but she won’t do it at just any time. She needs it to “rain”. Now rain doesn’t have to be real rain. As soon as you turn on a Youtube video of rain, she runs to her little bathtub and gets to work. Same goes for the vaccuum. Apparently sausages frying also sounds like rain to a little parrot brain.

The problem is with Tasha, is that she sometimes forgets that she has to go to her bath tub, so she ends up dry bathing on her perch. It’s adorable.

Make your own easy passport wallet

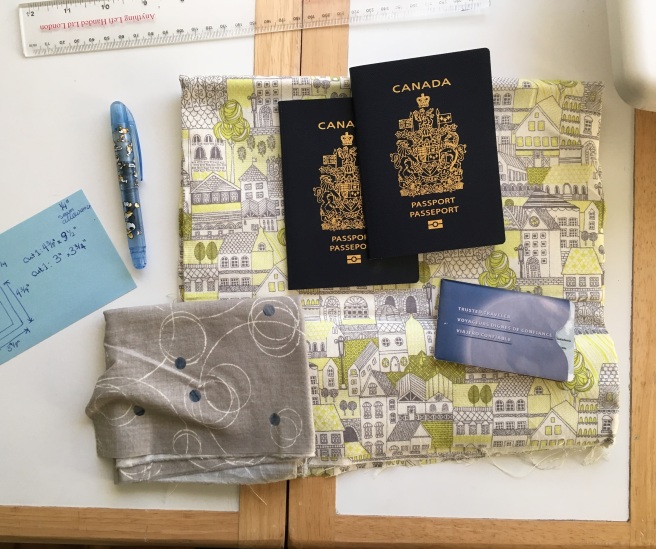
We cross the boarder a lot and I was getting tired of packing and unpacking the big passport wallet we have, where we keep our non-Canadian passports and foreign currency. I wanted to be able to just grab our passports and nexus cards, shove it in my purse and go. I wanted a little pocket on front to keep our nexus cards, but I wasn’t worried about the possibility of anything falling out, since it will be in my purse. I’m not an experienced sewer and I was able to make this in about 2 hours (including planning and measuring)!

Materials:

1. About 1/4 meter of fabric main fabric (even less, this is a great opportunity to use up some scraps).
2. A small amount of contrasting fabric.
3. Matching thread.

IMG_0400.JPG

Instructions:
All seam allowances are 1/4″, unless otherwise specified.

  1. Measure your passports. Make sure you measure the thickness and decide how many passports you want to be able to hold. My passports dimensions are 3 1/2″ x 4 7/8″ and are 1/8″ thick, so you might need to adjust a little. You might want to note that we actually have four passports between us, so we made it a little thicker. I’d err on the side of a too small rather than too large, because the fabric will stretch a little.
  2. Cut 2 pieces of the main fabric, sized 4 1/2″x 5″. If you would like to store fewer or more passports, you will want to adjust the second dimension (Y, in my case).
  3. Measure the cards you want to store in the small pocket and add 1″ to the short side and subtract 1/2″ from the long side. For example, my cards are 2 1/4″ x 3 1/2″, so I cut a piece of fabric 4 1/2″ x 3″. If you’re wondering why we add 1″ instead of 1/2″, it is because we will be top stitching the pocket to the main fabric.
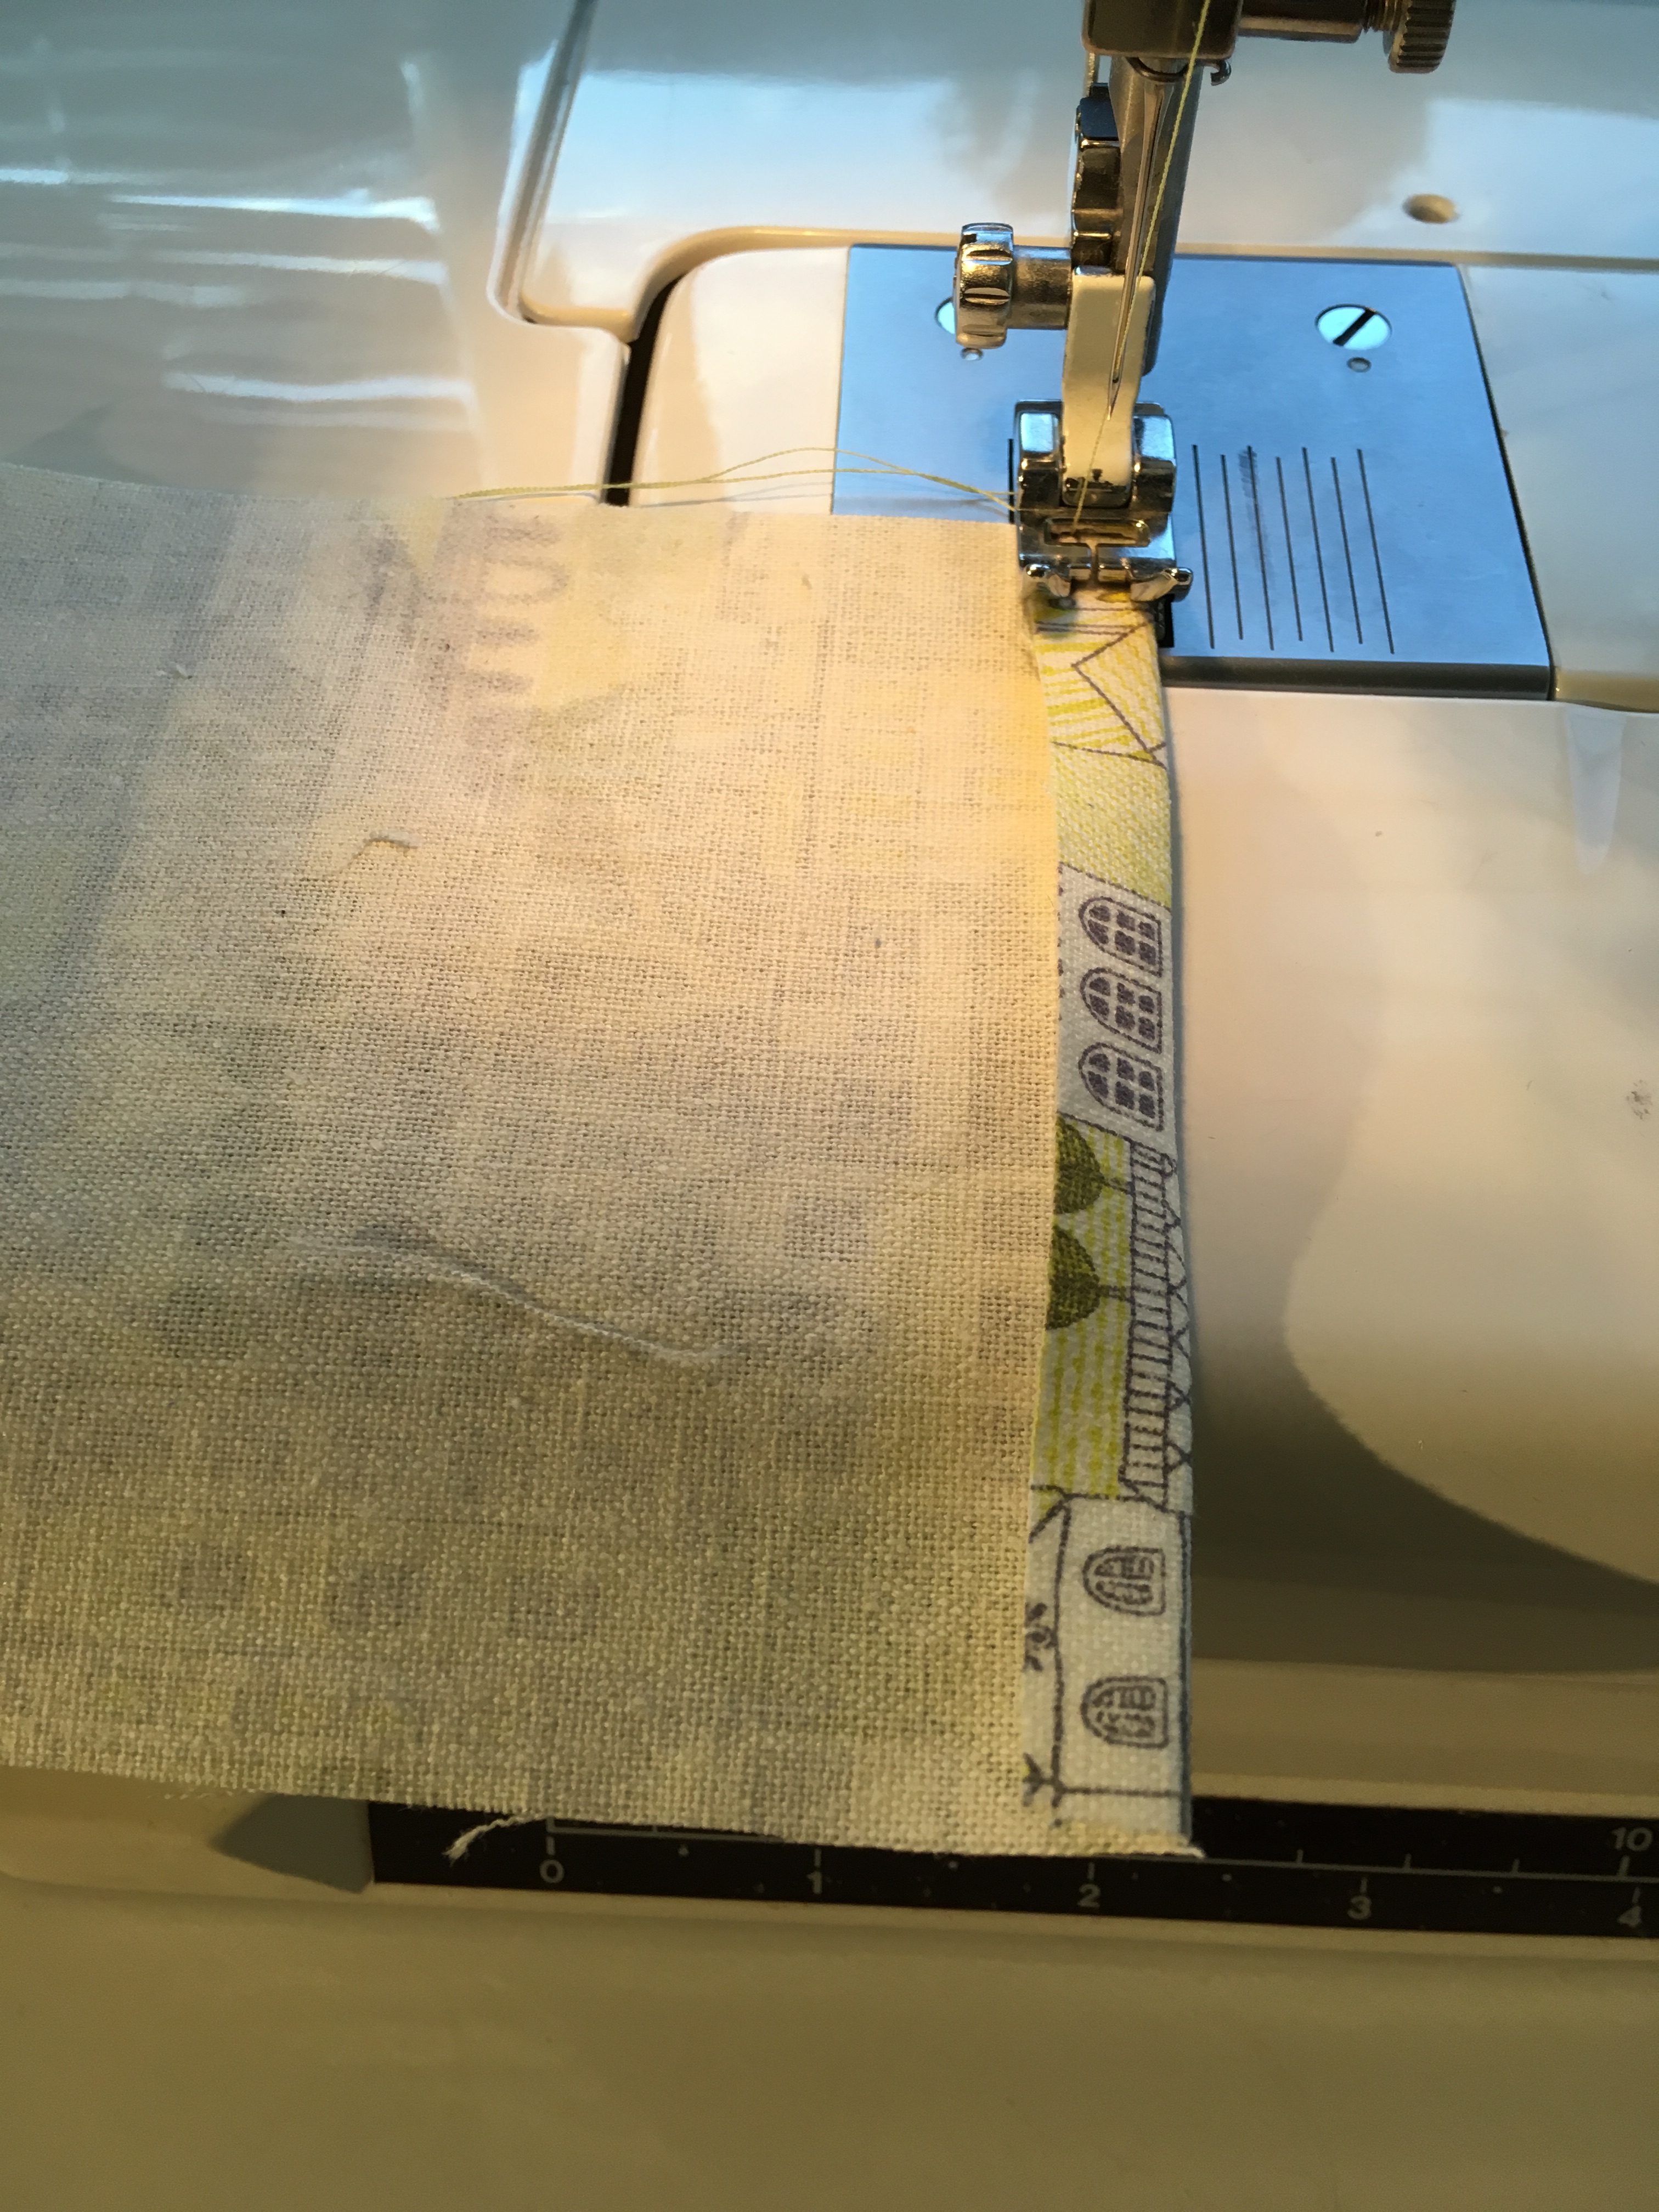
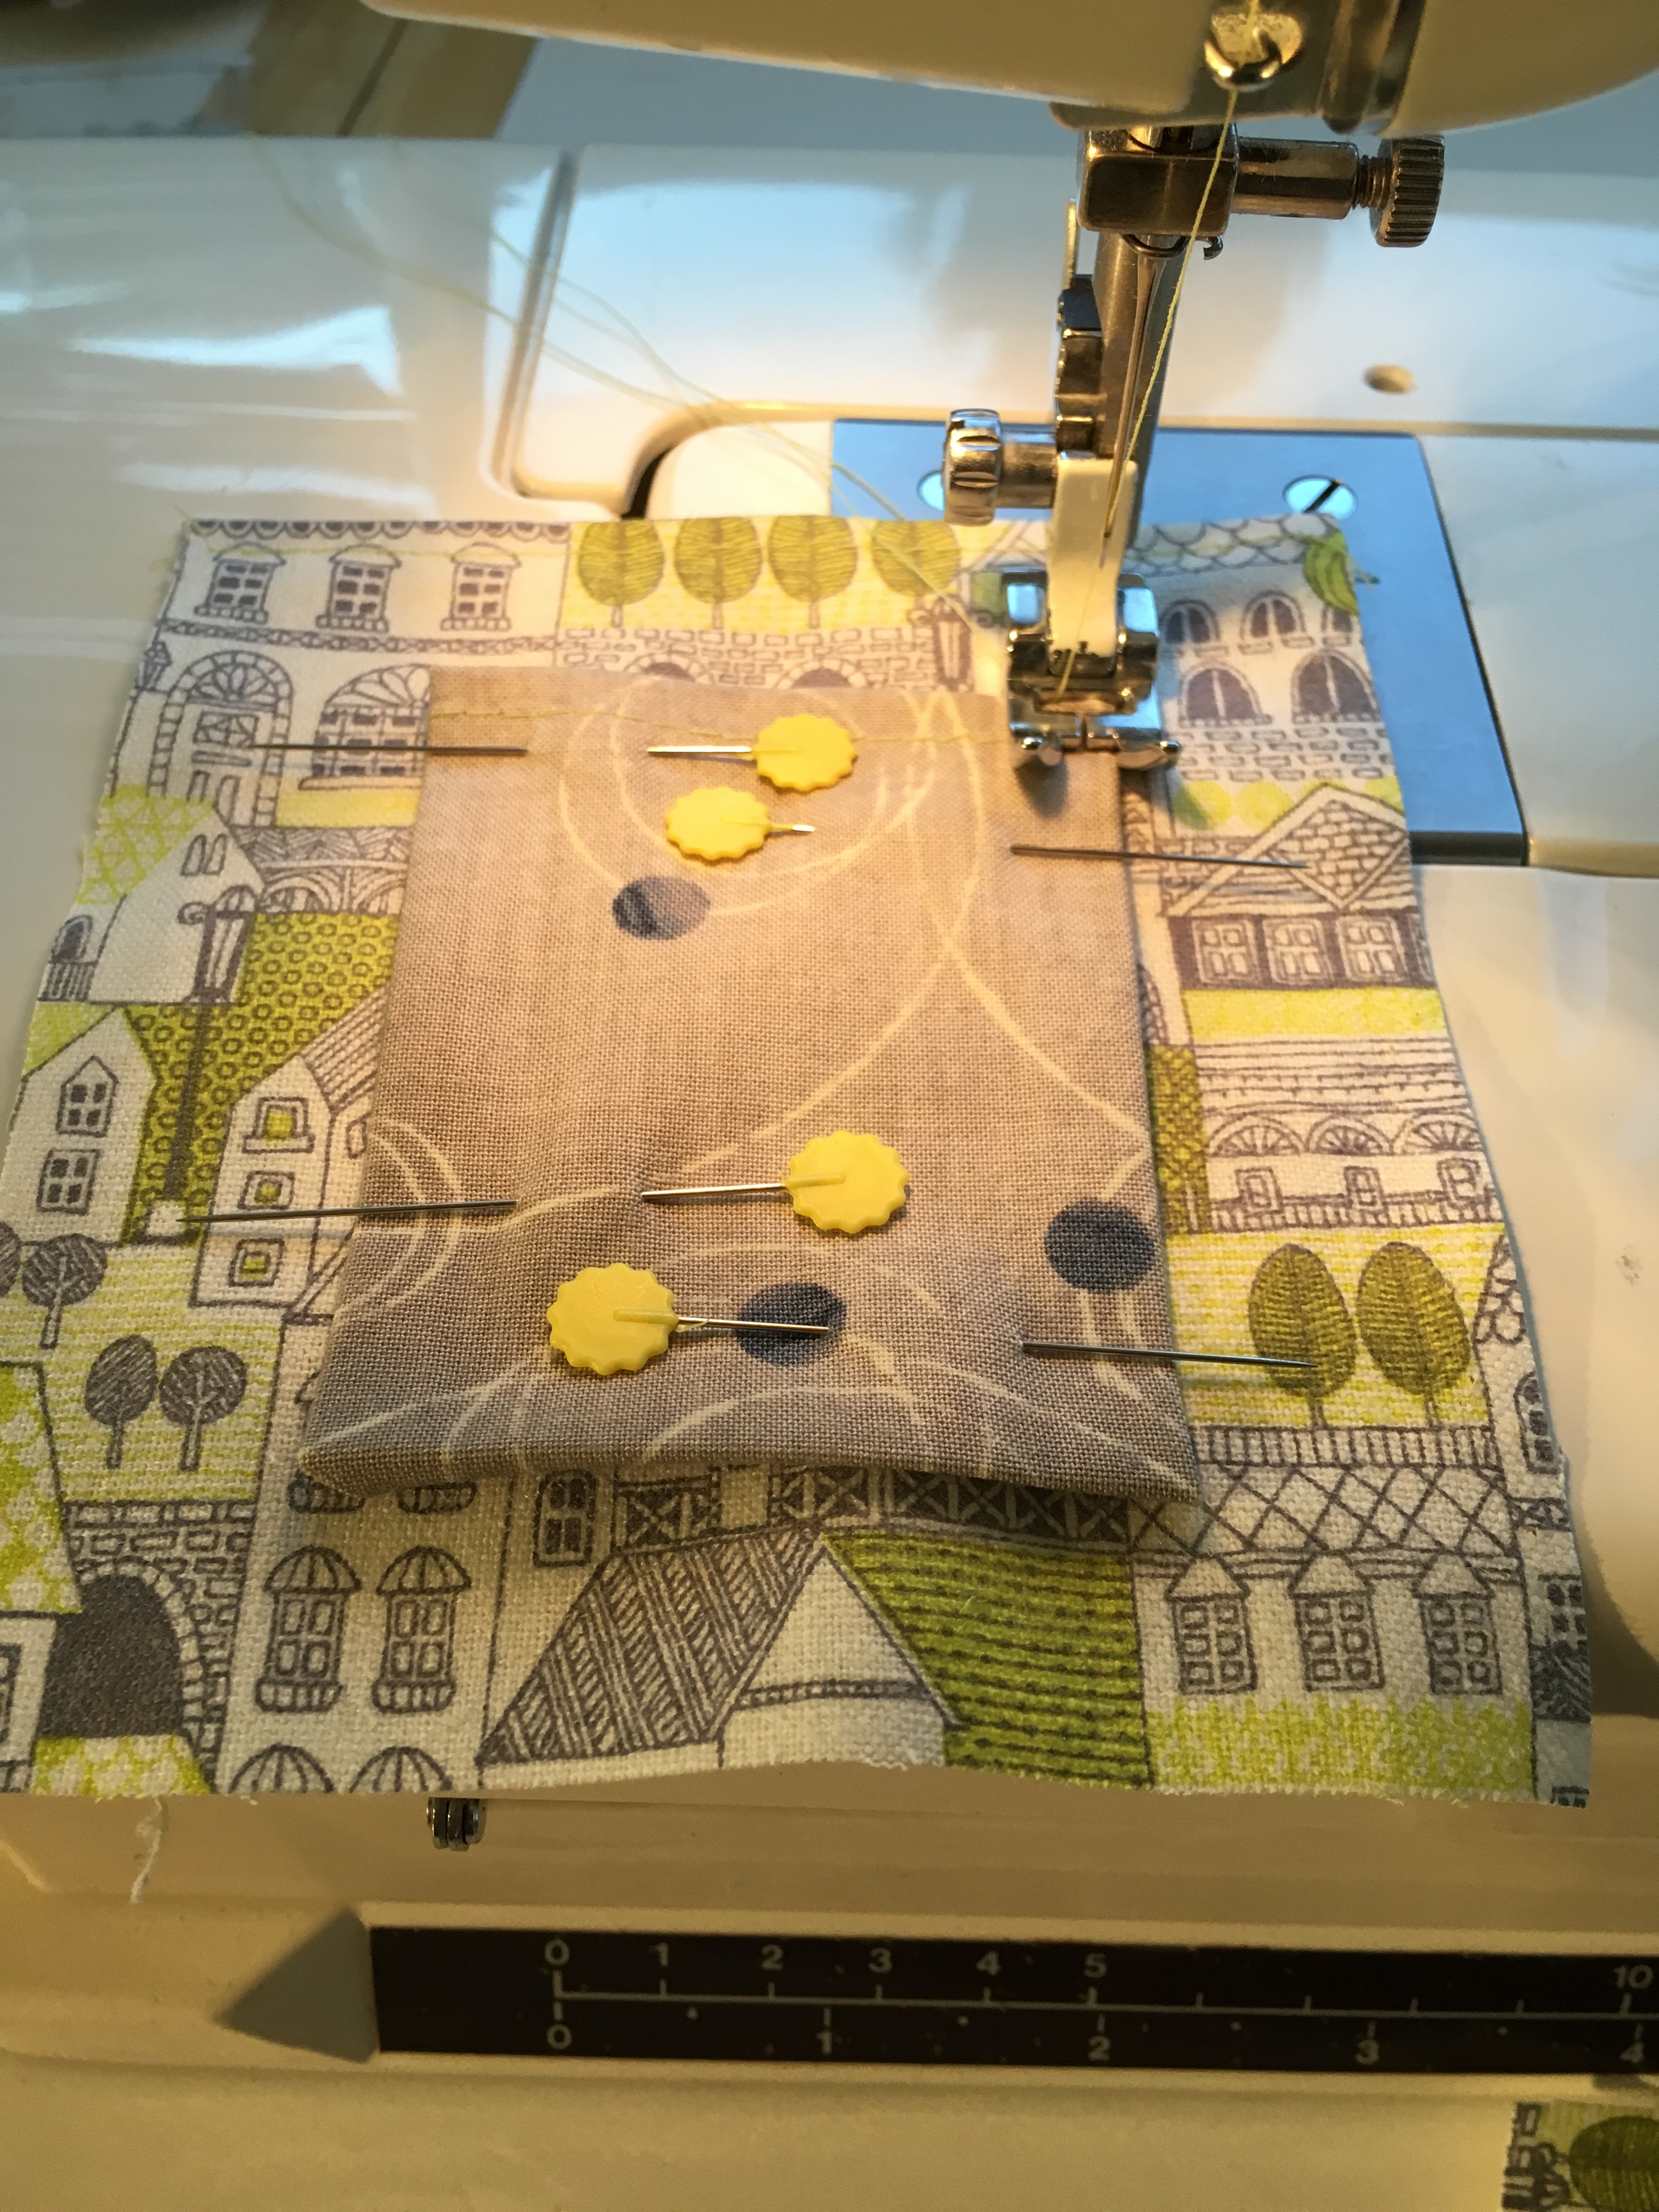
  4. Fold one of the short edges towards the backside to create a 1/4″ hem. Press with iron and with a long stitch, top stitch the hem (this will form the mouth of the passport wallet). Repeat with the second piece of main fabric and the pocket fabric.IMG_0401.JPG
  5. Create a 1/4″ fold on the three raw sides of the pocket fabric. Press with an iron and trim the corners that will be close.IMG_0404.JPG
  6. Pin the wrong side of the pocket to the right side of the main fabric, making sure the hems are both facing the same way. When doing this, remember the size of the main pocket will change a little once it is sewn together.
  7. Stitch the pocket onto the main fabric, ensuring the stitched lines are larger than the size of the cards.IMG_0406.JPG
  8. Put the right sides of the main pocket together (make sure the hemmed edges are aligned) and stitch raw edges together. Cut the two raw corners, turn the pocket inside out and iron flat! Done!File 2016-07-08, 4 10 35 PM

Good night moon

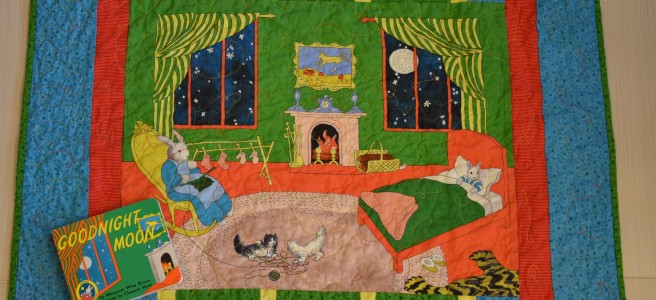
I finished my second quilt. It is a gift for friends for their baby shower. Normally, I like to knit for friend’s babies, but this couple is vegan and I struggle to knit with cotton due to a hand injury. It turns out quilt aggravated my hand, but it was worth it! Luckily, I have another set of these panels, so I can make another one someday. It was my first time free motion quilting and it was so much fun.

Hello Again

Life has been crazy. Work has ramped up and I’m finding myself with little time. Well, I thought I was too busy, until I realized how much crafting I’ve been squeezing in. Not enough time to write about it, apparently, though.

So instead, here are some pictures of what I’ve been up to.


In no particular order:

  1. Clayoquot Hat (in Madelinetosh, from my colourwork class).
  2. Hamish socks and the Eye of Partridge Heel.
  3. Lifesavers completed
  4. Sea Stripes Shawl in Caterpillargreen yarn
  5. Penny Striped Tea for my first KAL
  6. Hand painted yarn on a rigid heddle loom
  7. Rose City Rollers in Felici