A beast of a quilt

It’s done. It’s taken 13 months, 1054 squares (plus extras that I cut then discarded), over 1000 yards of thread and one minor injury. Plus $201 to finish what I couldn’t. But, it’s done and I love it.

I typically prefer more traditional designs and don’t go for minimalist work (which you can tell by my choice in fabric). Our bedroom has modern (cough…ikea) furniture, art and feel to it, so I thought I would branch out and try a modern pattern. I searched high and low for fabric (everywhere from the Rocky Mountains to Japan) and finally found a good palette that would give the ombre look that I love. James and I found more than half of this fabric on our travels together last year, which makes this all the more special.


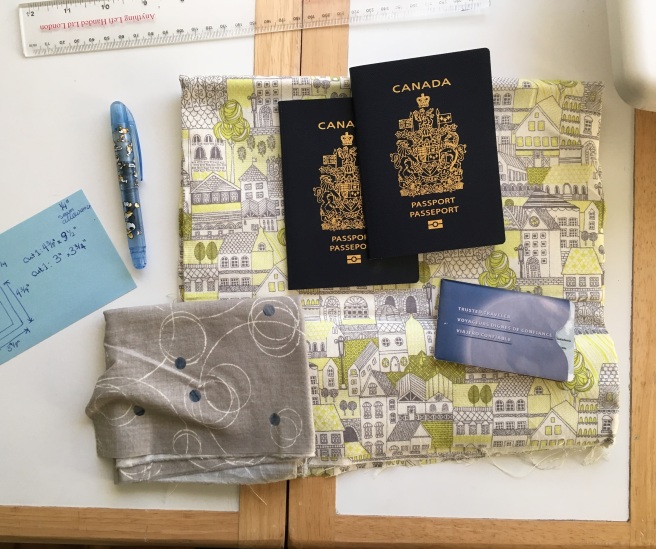
I made a long list of the number of squares I need from each fabric (in both 3 1/2″ and 3 7/8″) and got to work cutting. My scrap box filled and my interest waned, but I managed to start piecing late last fall. And then I pieced and pieced and pieced. I’m not very experienced on a sewing machine, so it went slowly, but I got there in the end.

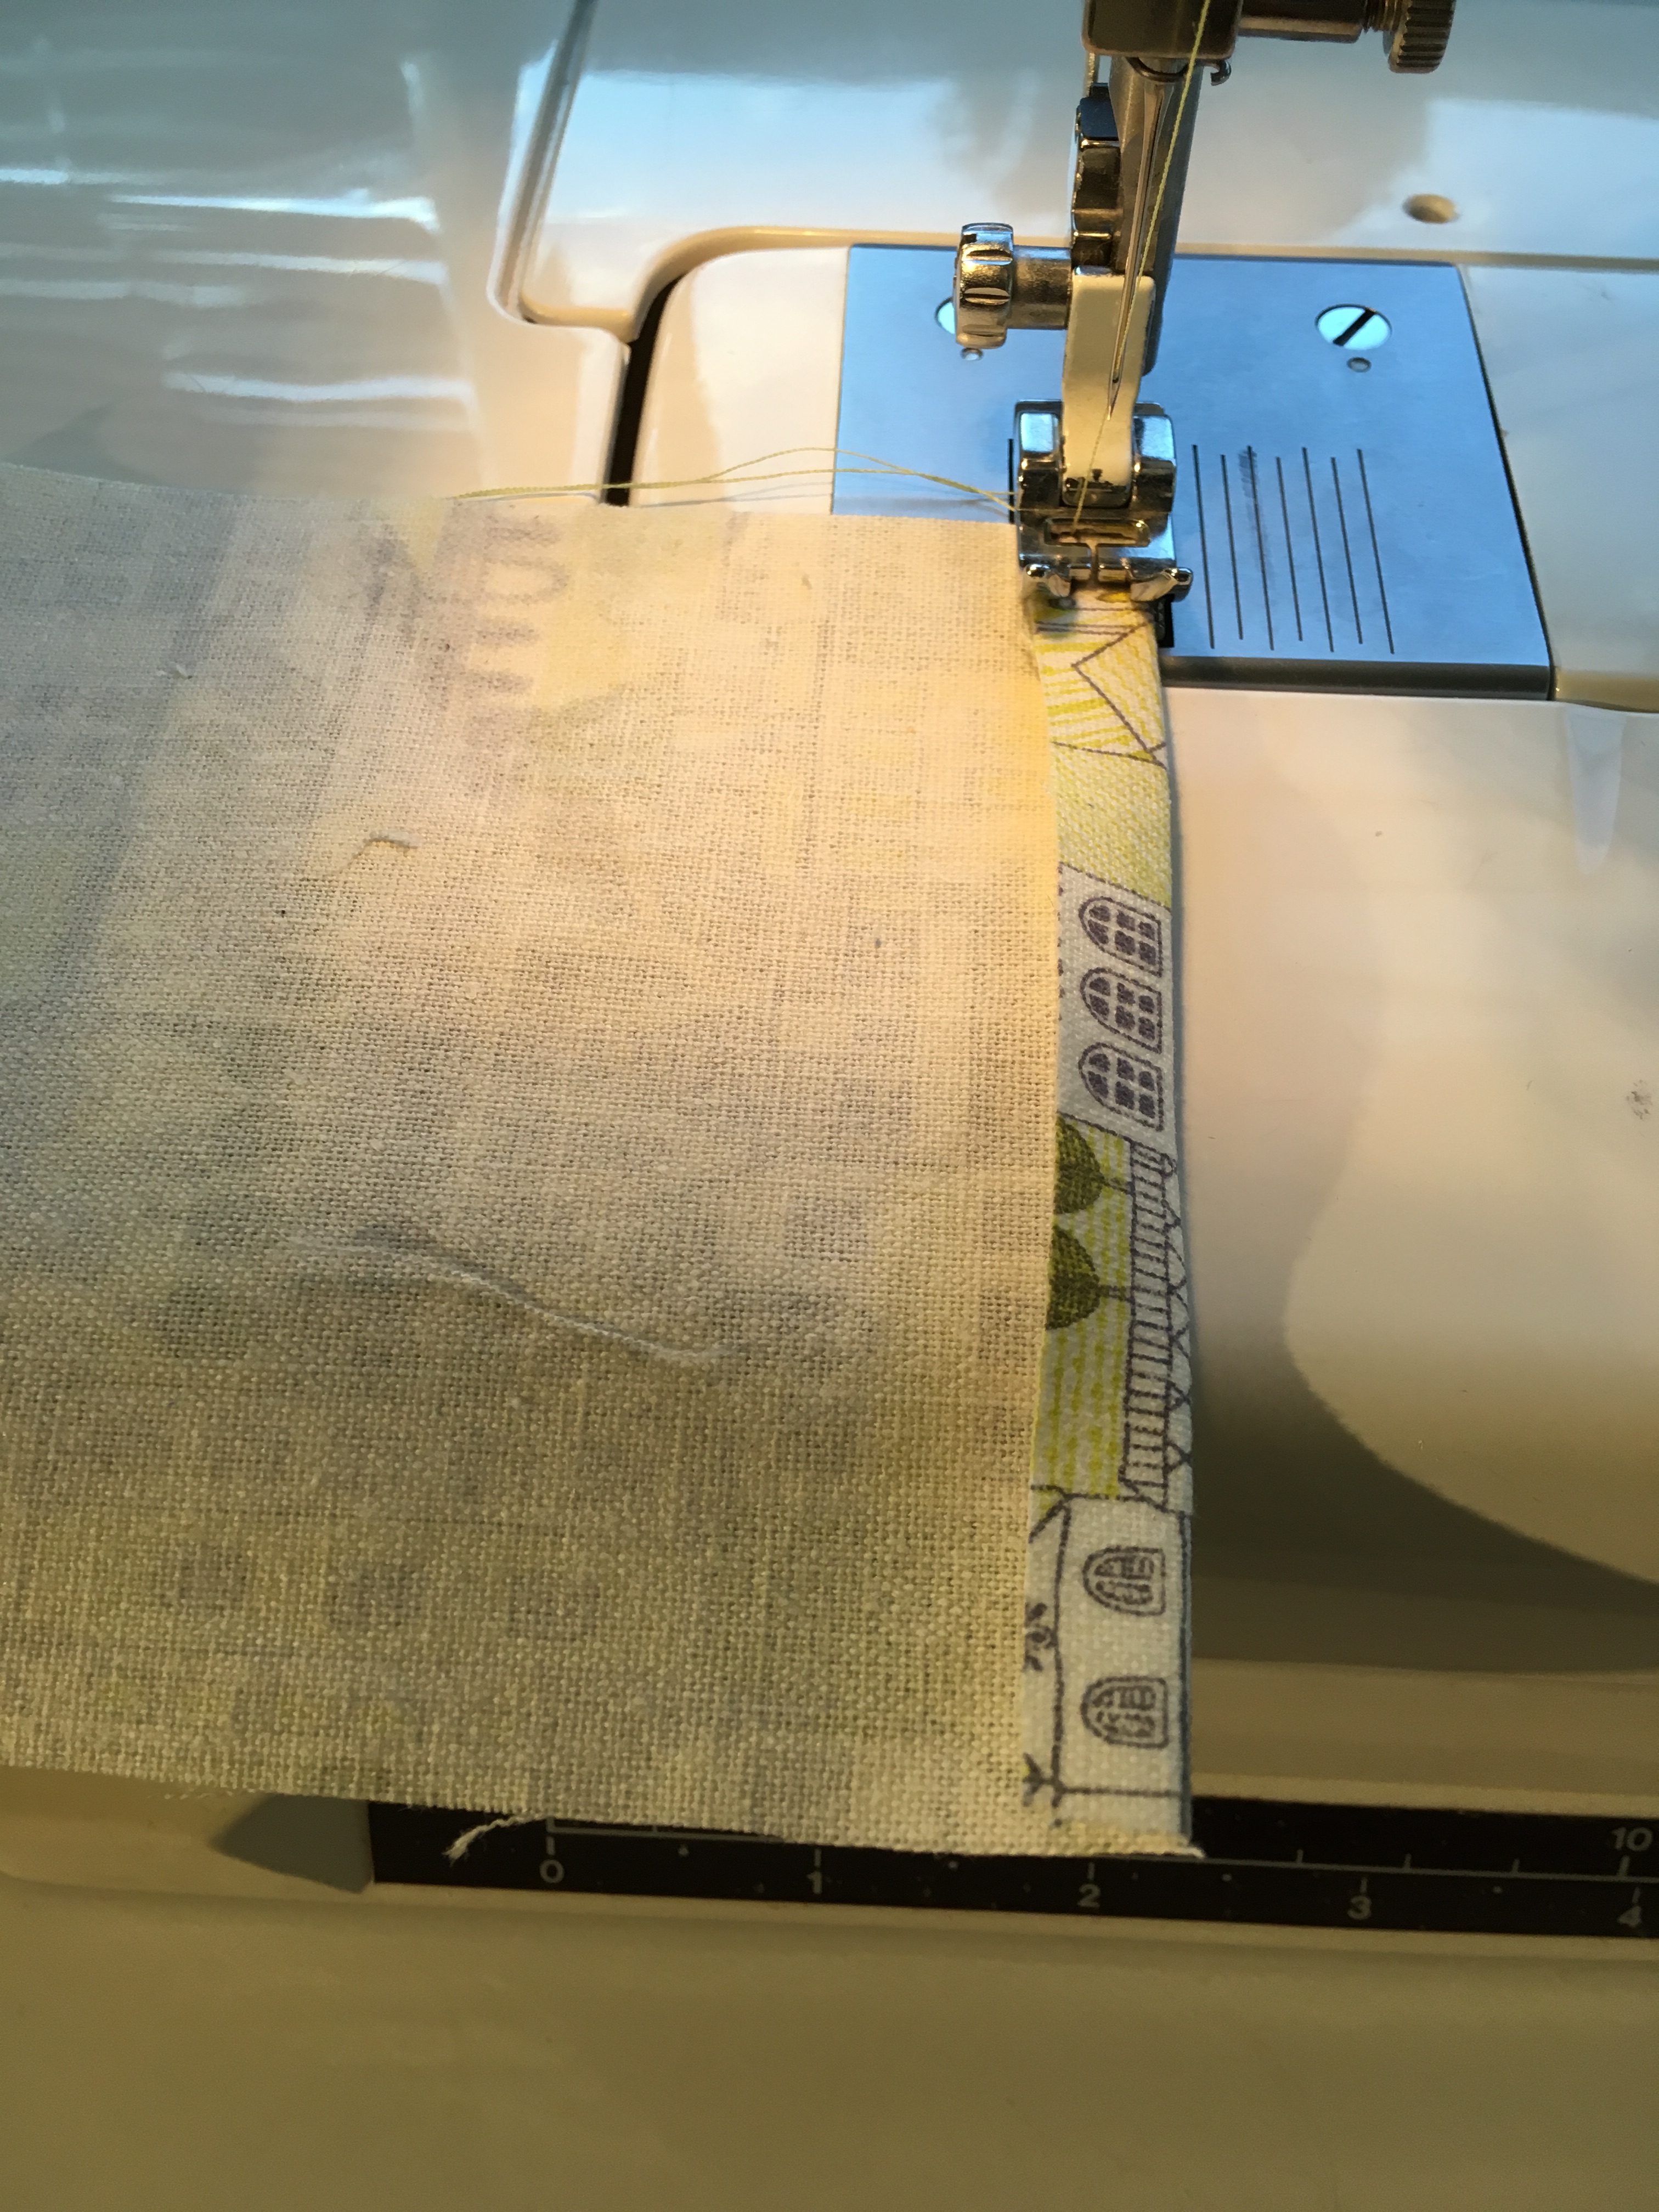
I was ready to quilt and planned on doing a simple shadow stitch on my little Riccar sewing machine. I got through 3/4 of a line and I realized it was a lost cause. I couldn’t hold it straight enough or feed it evenly because it was too big. I tried large text books, walking foot with a quilting bar, giant table, but no dice. And then as I approached the end an old injury from playing the tuba started to come back with vengence.

So, I did what any frustrated crafter should do and banished the quilt to the naughty corner and made it think about what it did while I started to look into alternatives. I found a lovely lady who lives about 2 blocks down who has a free arm machine and was able to quilt it with a beautiful vine pattern and bind it, all for $200 dollars, and had it back to me within 4 days! As much as it pained me to have someone else do it, I was really happy with the results.

Since this was really for James and I to hopefully share for many years together, I threw together a little label using my rusty embroidery skills.

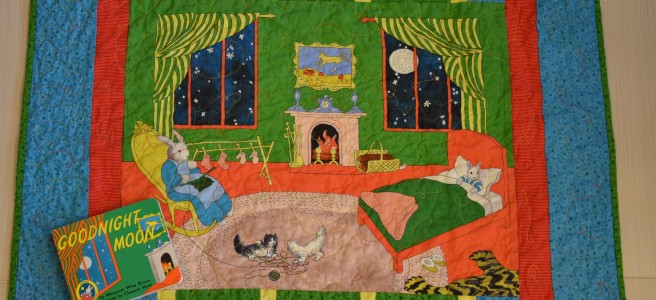
Here it is, in all of it’s glory.

If you’re interested in a good tutorial that gave me the idea of shape of the pattern for this quilt, check out this blog here.

Make your own easy passport wallet

We cross the boarder a lot and I was getting tired of packing and unpacking the big passport wallet we have, where we keep our non-Canadian passports and foreign currency. I wanted to be able to just grab our passports and nexus cards, shove it in my purse and go. I wanted a little pocket on front to keep our nexus cards, but I wasn’t worried about the possibility of anything falling out, since it will be in my purse. I’m not an experienced sewer and I was able to make this in about 2 hours (including planning and measuring)!

Materials:

1. About 1/4 meter of fabric main fabric (even less, this is a great opportunity to use up some scraps).
2. A small amount of contrasting fabric.
3. Matching thread.

IMG_0400.JPG

Instructions:
All seam allowances are 1/4″, unless otherwise specified.

  1. Measure your passports. Make sure you measure the thickness and decide how many passports you want to be able to hold. My passports dimensions are 3 1/2″ x 4 7/8″ and are 1/8″ thick, so you might need to adjust a little. You might want to note that we actually have four passports between us, so we made it a little thicker. I’d err on the side of a too small rather than too large, because the fabric will stretch a little.
  2. Cut 2 pieces of the main fabric, sized 4 1/2″x 5″. If you would like to store fewer or more passports, you will want to adjust the second dimension (Y, in my case).
  3. Measure the cards you want to store in the small pocket and add 1″ to the short side and subtract 1/2″ from the long side. For example, my cards are 2 1/4″ x 3 1/2″, so I cut a piece of fabric 4 1/2″ x 3″. If you’re wondering why we add 1″ instead of 1/2″, it is because we will be top stitching the pocket to the main fabric.
  4. Fold one of the short edges towards the backside to create a 1/4″ hem. Press with iron and with a long stitch, top stitch the hem (this will form the mouth of the passport wallet). Repeat with the second piece of main fabric and the pocket fabric.IMG_0401.JPG
  5. Create a 1/4″ fold on the three raw sides of the pocket fabric. Press with an iron and trim the corners that will be close.IMG_0404.JPG
  6. Pin the wrong side of the pocket to the right side of the main fabric, making sure the hems are both facing the same way. When doing this, remember the size of the main pocket will change a little once it is sewn together.
  7. Stitch the pocket onto the main fabric, ensuring the stitched lines are larger than the size of the cards.IMG_0406.JPG
  8. Put the right sides of the main pocket together (make sure the hemmed edges are aligned) and stitch raw edges together. Cut the two raw corners, turn the pocket inside out and iron flat! Done!File 2016-07-08, 4 10 35 PM

Good night moon

I finished my second quilt. It is a gift for friends for their baby shower. Normally, I like to knit for friend’s babies, but this couple is vegan and I struggle to knit with cotton due to a hand injury. It turns out quilt aggravated my hand, but it was worth it! Luckily, I have another set of these panels, so I can make another one someday. It was my first time free motion quilting and it was so much fun.

A few gifts

I swear the yarn for this project doesn’t count against Cold Sheep. I made my mom a honey cowl a couple of years ago for her birthday and she wears it hiking up the mountain. Her hiking buddy was admiring it, so my mom (as polite as can be) asked if I would consider making one for her friend. I was happy to oblige and have an excuse to yarn shop (which my mom paid for). I chose some MadelineTosh DK in Fog and had fun making this cowl. I did 15 repeats of the pattern and the result is nice and airy. More information here. I tried my best to match the skeins of yarn, but the second half was significantly darker (you can really see it in the post-blocked picture). I like the resulting ombre effect, but I think my love affair with MadelineTosh is waning.

Now the next project might seem like a strange gift birthday gift for a woman who is turning 30 (a doctor, no less), but it is for a friend who I grew up with. She loved fairies and her room was full of pictures like these when we were growing up. I found this fabric in a remnant bin a couple of days ago and decided to make a little project bag for her (since she has several knitting projects on the go at any one time). I really liked this pattern and I think it might be my new go-to project bag pattern, now. See here for details. The only change I made was using my binding tape maker instead of ribbon or the method they suggested. I bought those binding tape makers on a whim to help with a little baby bonnet, and I am pleased to say I’ve actually used it a lot. My (frugal) friend said that if you find an inexpensive tool that will help you with a project, then just get it. It will be worth it. I totally believe it.

DSC_6725

Resolutions

I’m not big fan of New Years resolutions. I see it as a big excuse for me to procrastinate until Decemeber 31st. That is why I started Cold Sheep in November. I have been thinking, though, that I need to improve my knitting in a few areas:

  1. Get over my fear of steeking. I have a plan. If I’m (mostly) good for Cold Sheep this year, I will buy myself some luxurious Sweet Fibre Wool and make myself a Clayoquot Cardigan. I’ve been eyeing it for a while, so I’m excited to attempt it with my favorite yarn. This will be perfect, since I hate doing colourwork while knitting flat.
  2. Speaking of colourwork, I really want to improve my colourwork skills. I am unhappy with the results of my most recent attempts. The tension is wrong. I know practice will help, but I am also signed up for a class with Alexa Ludeman, who designed the aforementioned Clayoquot sweater. We’ll be making a Clayoquot hat, which will be perfect practice. I am also determined to finish My Favourite Things this month, which will force some none-stop colourwork.
  3. Practice lever style knitting. I learned how to use this style of knitting from Stephanie Pearl-McPhee (aka the Yarn Harlot) in a class on speed knitting. I took to it quickly, but I haven’t used it since. I need to find some flat projects and go to town.(You can knit in the round, but need HUGE DPNs, which I don’t have)
  4. Learn how to weave in ends properly. I can do a Russian join and hold ends while knitting, but I haven’t found a good method for adding another colour or even weaving in an end at the star or end of the project. Despite being simplest resolution, this is the only one I don’t have a plan for. Google, I guess?

Sneak Peak

A soon-to-be baby quilt for an expecting friend. I struggle working with a lot of cotton because of my hands, and so I decided to quilt a baby blanket for my vegan friends instead of knit. Besides, who could resist a Good Night Moon quilt? I’m super excited I was able to find perfectly matching fabric.

DSC_6678.JPG

A spicy solution

We moved into our beautiful home just over a year ago. Living in a city, we had to be willing to give up certain things in order to get the things we really wanted. We were able to find a town house with a big, bright kitchen with a beautiful view and instantly fell in love. The problem  with our kitchen was the lack of storage and counter space, despite the large floor area.  We have grand plans to renovate our kitchen, but for the time being, I needed extra drawers. This means we had to come up with ugly (but temporary) solutions like a bookshelf we plopped in the kitchen.

I wanted something pretty to brighten up the kitchen and serve as a long term storage solution, especially for the numerous spices that we have. I know you are supposed to buy spices in small quantities because they become less potent over time, but it doesn’t seem to work well in my kitchen.

Having just bought a new home, I didn’t want to spend a lot of money so I decided to reclaim a small office tower we had but didn’t really use. This is the Helmer office drawers and is made by Ikea.

This Ikea Helmer shelf is pretty well build but very boring.

I took off the handles, which were functional but pretty ugly. I bought some pretty fabric to decorate the front of the drawers. I am not a huge Mod Podge fan, because I don’t like the mess and the results, typically, but it seemed like the tool for the job.

fabric
I’m a sucker for pretty fabric.

I cut the fabric so that it would cover the face of each drawer plus the edges; I couldn’t see the fray of the fabric when each door is closed. The Mod Podge protects the fabric pretty well, so you don’t need to worry too much about the fabric fraying or getting dirty.

Adding Mod Podge to the face of the drawer. Euch. Notice the newspaper?

Once the fabric was cut, I spread a layer of Mod Podge on the face of the drawer using a foam brush. Before it had a chance to dry, I placed the fabric on top and then spread another layer of Mod Podge. I let this dry for two days, just to be certain. I live in a humid climate and didn’t want to ruin the finish or glue the drawers together.

2014-04-03 22.00.05
Another layer of Mod Podge: Try to smooth it out the best you can, but don’t worry too much. Any streaks shouldn’t be visible over the texture of the fabric.

Once dry, I bought found six beautiful bird handles (for way too much money) and drilled holes in the center of each drawer. The fabric covered the old holes, so I didn’t worry about them. A tip to Canadians looking for these handles, make sure you buy the bolts with them. I didn’t, thinking it would be easy to find in the local hardware store, but it turned out they were uncommon in Canada. I ended up re-tapping the holes and buying different bolts.

Bird drawer pulls were hard to get shipped to Canada, but they were worth it.

Once I had the drawers back in, I needed to trim the fabric around the edges to ensure it slid in and out a bit better. I even took out a file to reduce the amount of Mod Podge on the sides. If you’re really stuck, you can try rubbing the edges with wax.

DSC_1885

Despite my reservations, it turns out Mod Podge is actually pretty good for fabric on metal. One great thing about this project is that all of the character is in the handles and the fabric, so it is completely customization. It’s been over a year now, and it still looks sparkly new.

DSC_1884
Here is the final product in all its glory.

If I were to do it again, I would try to stagger the fabric cuts so it didn’t look like I tried but failed to line up the pattern.

Here is a peek at the inside. I spray painted the lids of mason jars with chalk board paint and use a chalk marker. If you try this, use regular chalk instead, because the combination of “chalk” paint marker and spray paint chalk board on metal lids don’t work. If you look closely, you can see the original sharpie label showing through the white and I can’t rub off the chalk marker.

20150527_080008
I’m not on the “Mason Jar” train, but these were perfect for the Helmer drawers. Next, I need to figure out how to improve my hand writing…

Sneak Peak

Here is a bonus peak at my current knitting project:

20150518_200905